
Thinking about going solar but wondering what actually happens after you sign the contract?
Many homeowners assume solar installation is as simple as mounting panels on a roof. In reality, the process includes engineering, permits, inspections, utility approval, and several important steps that help ensure your system is safe and performs as expected.
Here’s what to expect from start to finish.
Key Takeaways for Solar Panel Installation in Florida
Before you purchase anything: Evaluate your electricity usage, check whether your roof is suitable for solar, explore available Florida incentives, compare quotes from qualified installers, and understand your payment options before signing a solar contract.
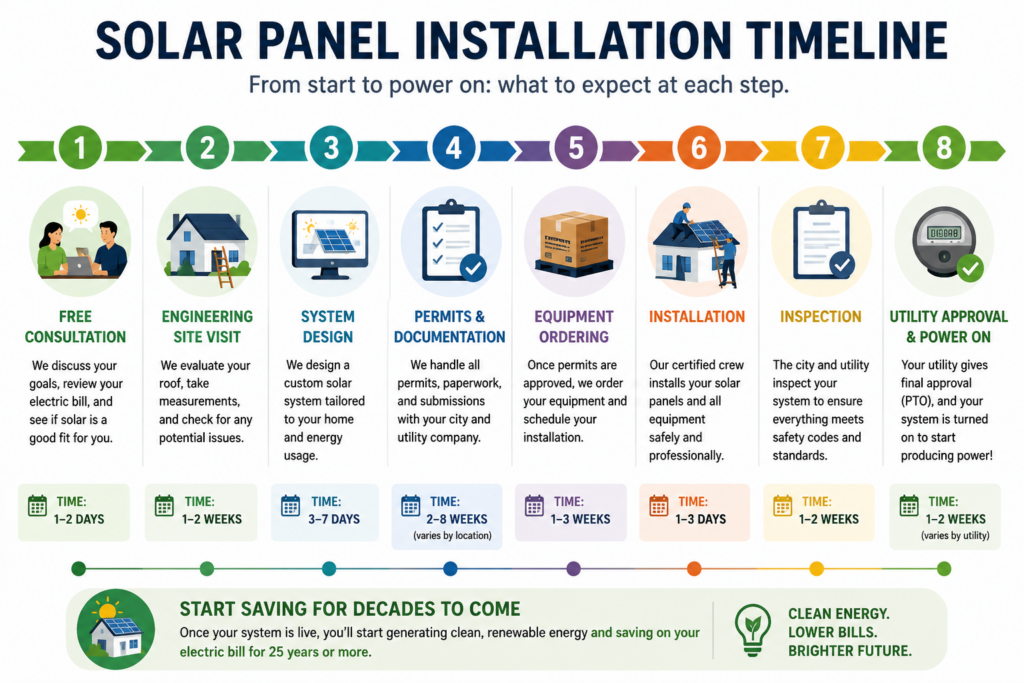
Once you decide to move forward: The solar installation process typically includes an engineering site visit, system design, permits and documentation, equipment ordering, the physical installation, inspection, and finally utility approval and interconnection.
How long it takes: While the actual installation may only take a few days, the complete process can take several weeks or longer depending on permitting, equipment availability, inspections, and utility requirements.
We don’t recommend: Installing solar panels yourself unless you have the necessary professional experience. Solar installation involves roofing, electrical work, permitting, in high Florida electric bills inspections, and utility requirements.
Solar panels can help Florida homeowners lower their monthly electricity costs while generating right from their own homes. Beyond potential savings, going solar can also provide greater protection against rising utility rates and give homeowners more control over their long-term energy costs.
But getting solar installed isn’t as simple as putting panels on your roof. The process involves several important steps, including evaluating your home, reviewing your energy usage, designing the right system, securing permits, installing the equipment, and getting approval from your utility company.
The good news? You don’t have to navigate the process alone. Solar Near Me handles the technical details and guide you through each stage. This step-by-step solar panel installation guide explains the entire process from checking whether your home is a good fit to getting your system approved, we’ll walk through exactly how solar panels are installed in 2026, what you should do before signing a contract, how long the process usually takes, and whether installing solar panels yourself is actually worth the risk.
What to Know Before Installing Solar Panels
Before you start shopping for solar panels, you need to understand three things:
How much electricity your home uses, whether your roof is suitable for solar, and what type of solar system makes financial sense for you.
These factors determine the size of your system, the equipment you’ll need, your installation cost, and your potential savings.
1. Understand Your Electric Bill
Start by looking at your recent electricity bills.
Your electricity usage helps determine how much solar power your home needs.
Look for:
- Your average monthly electricity usage
- Your average monthly electric bill
- Your electricity provider
- Seasonal changes in your energy consumption
- Whether your electricity usage is increasing
For example, a Florida homeowner with high summer electricity bills because of air conditioning may need a significantly larger system than someone with lower annual electricity consumption.
Your electricity bill is one of the most important pieces of information a solar professional will need when designing your system.
2. Check Whether Your Home Is Suitable for Solar
Not every roof is equally suitable for solar.
A professional solar assessment typically looks at:
- Roof age
- Roof condition
- Roof orientation
- Roof pitch
- Available roof space
- Trees and shade
- Nearby buildings
- Electrical equipment
- Historical electricity usage
If your roof is old or needs major repairs, it may make sense to address the roof before installing solar.
This is especially important in Florida, where homeowners need to think about both solar equipment and long-term roof durability.
3. Research Solar Incentives
Solar incentives can significantly affect the overall economics of a solar installation.
Florida homeowners should research applicable federal, state, utility and local programs before signing a contract.
Some Florida solar benefits can include exemptions related to sales tax and property taxes, while utility rules can affect how excess solar electricity is credited.
Because incentives and utility policies can change, always verify the current rules before making a purchase.
4. Compare Solar Quotes
One of the biggest mistakes homeowners make is accepting the first solar proposal they receive.
Solar systems can vary significantly in:
- Panel brand
- Panel efficiency
- Inverter technology
- System size
- Warranty coverage
- Installation quality
- Financing
- Monitoring
- Battery storage
- Maintenance
- Total contract price
Two systems that look similar on paper can have very different long-term costs.
That’s why comparing multiple proposals is so important.
5. Choose Your Solar Payment Option
There are several ways homeowners may pay for solar, including:
- Cash purchase
- Solar loan
- Lease
- Power purchase agreement
- Subscription or lease-to-own programs, depending on availability
Don’t compare options based only on the monthly payment.
Look at the total cost, contract length, escalators, warranties, maintenance responsibilities, cancellation terms and expected savings.
A low monthly payment doesn’t automatically mean you’re getting the best deal.
Should You Replace Your Roof First?
If your roof is older, damaged or nearing the end of its lifespan, replacing it before installing solar may save time, prevent future removal costs and make the project easier to manage long term. Because solar panels last 25 to 30 years, installing them on an aging roof means you will pay extra fees ($1,500 to $6,000+) to remove and reinstall the panels when the roof finally needs replacement
The 5 Steps of Solar Panel Installation
| Step | Typical Time |
|---|---|
| Consultation | 1 day |
| Engineering | 1–2 weeks |
| Permits | 2–8 weeks |
| Equipment | 1–3 weeks |
| Installation | 1–3 days |
| Inspection | 1–2 weeks |
| PTO | Utility dependent |
Once you’ve chosen a system and agreed to move forward, the actual solar installation process typically involves five major stages:
Step 1: Engineering and Site Assessment
Before installation, an engineer or qualified solar professional evaluates your property to confirm the system will work as designed.
They typically check:
- Roof condition and structure
- Roof size and orientation
- Shade and sunlight exposure
- Electrical panel
- Panel placement
- Equipment location
- Utility requirements
The information collected is used to finalize your solar system design.
Why is the engineering visit important? Your initial proposal may be based on your electricity bill and satellite imagery. The site assessment confirms the actual conditions of your home and allows the installer to make any necessary design changes before installation.
Step 2: Permits and Documentation
Before solar panels can be installed, the required permits and approvals must be obtained.
Your installer may submit:
- Final system designs
- Electrical and structural plans
- Equipment specifications
- Mounting details
- Utility interconnection documents
Permitting requirements vary by location, so working with an installer familiar with your local Florida requirements can help keep the process moving.
Step 3: Ordering Your Solar Equipment
Once the system design is finalized and the permitting process is underway, your solar equipment can be ordered.
A typical system may include:
- Solar panels
- Inverters or microinverters
- Mounting hardware
- Electrical wiring
- Monitoring equipment
- Safety equipment
- Battery storage, if included
The panels are only one part of the system. The inverter, mounting equipment, system design, and installation quality also play an important role in how your solar system performs.
Step 4: Solar Installation — The Big Day
Once permits are approved and equipment is ready, the installation can begin.
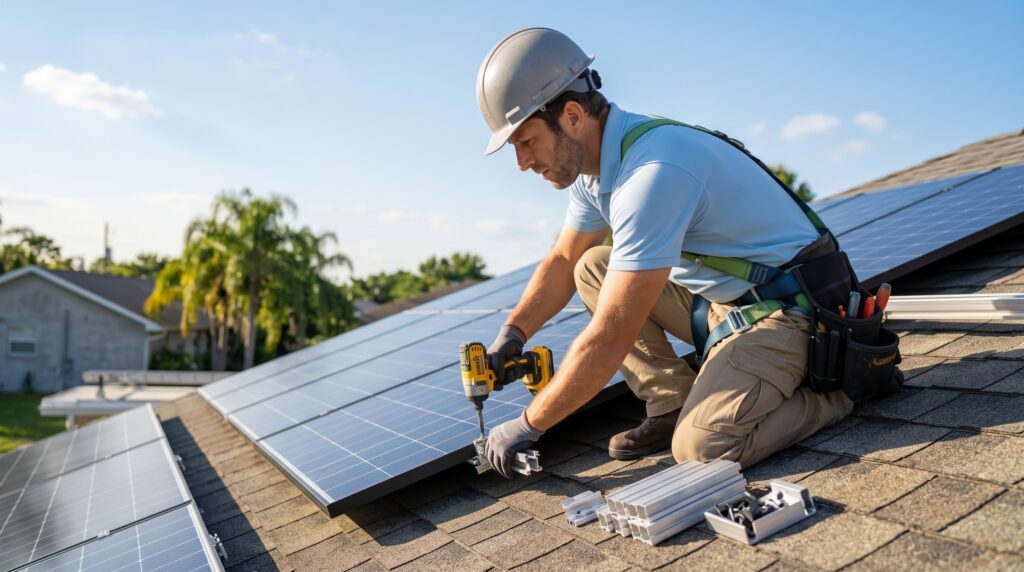
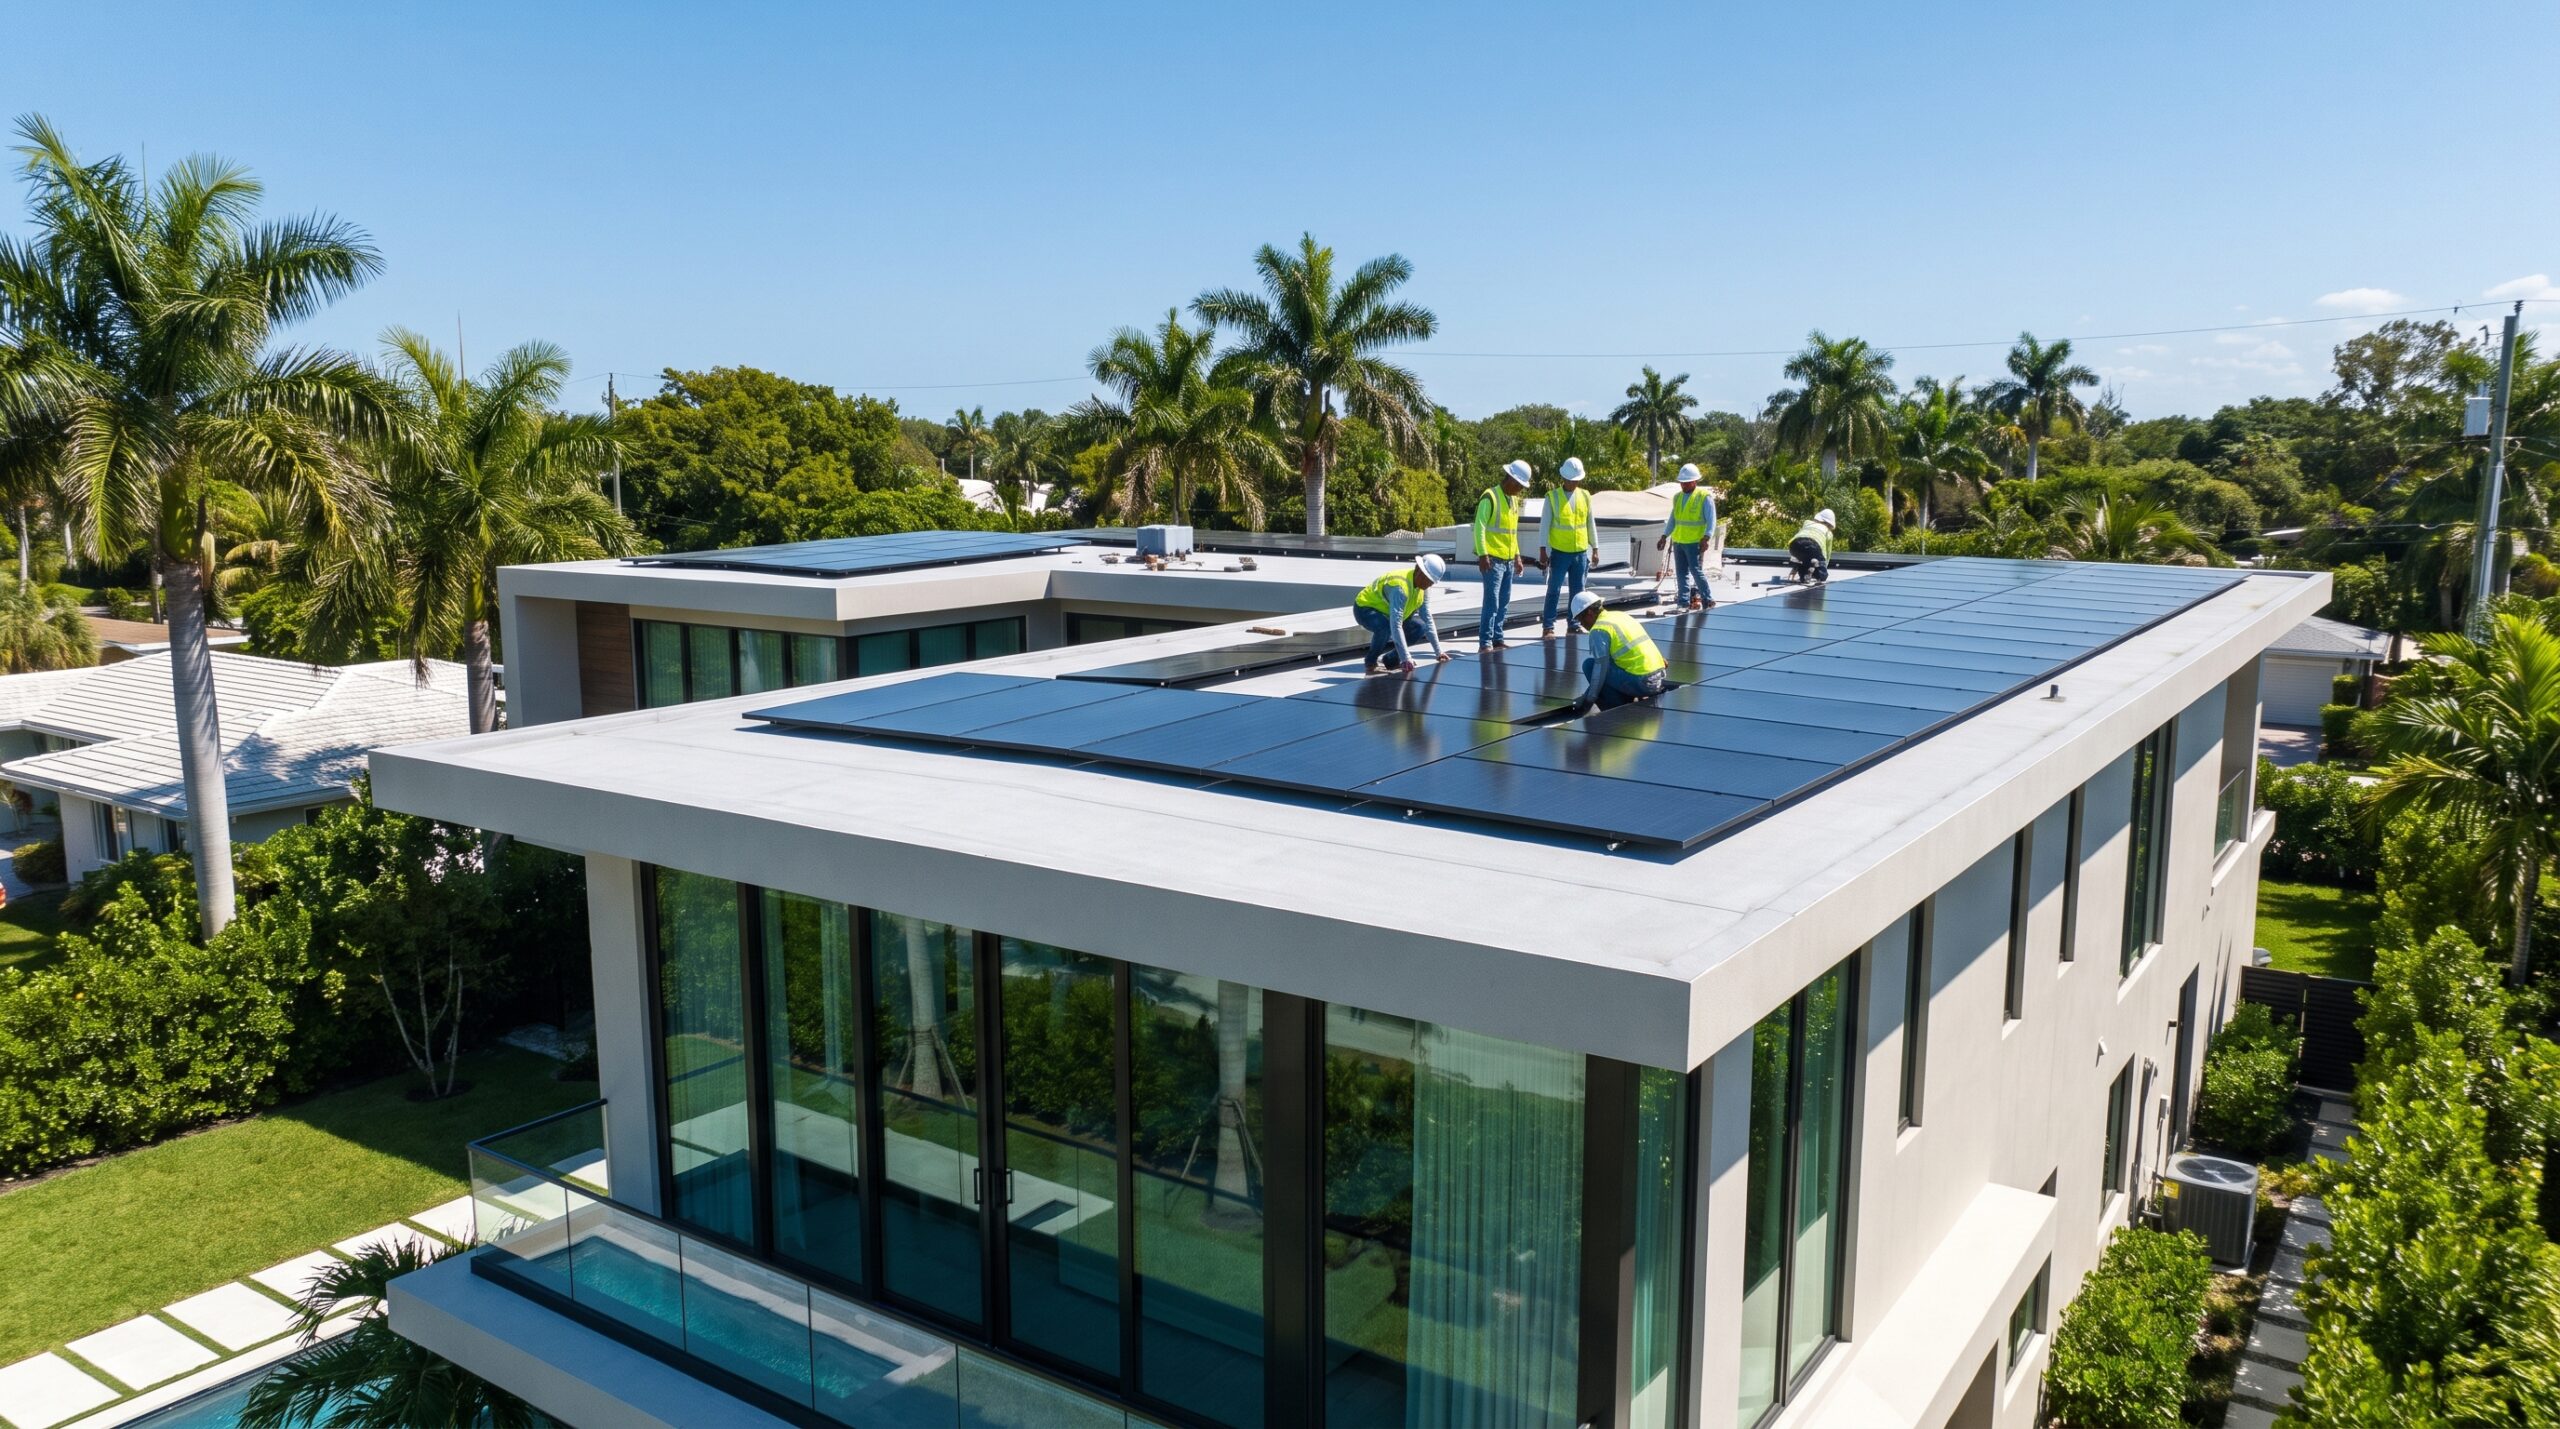
The installation crew will typically:
- Prepare the work area
- Install the roof mounting system
- Secure the solar panels
- Install the inverter and electrical equipment
- Connect the system to your home’s electrical system
- Set up system monitoring
- Test the system
The actual installation may take anywhere from one to three days, depending on the size and complexity of the project.
Although solar installation usually takes only one to three days, the complete process often takes several weeks because of engineering, permitting, inspections, and utility approval not because the installation itself is slow.
Step 5: Inspection, Approval and Utility Interconnection
Installing the panels doesn’t mean your system is ready to operate immediately.
After installation, the system typically needs to pass a final inspection. Your utility company may then need to approve the system and complete the interconnection process.
Once all required approvals are complete, your system can be activated and begin generating electricity for your home.
Curious What This Process Would Look Like for Your Home?
We’ll review:
✔ Your roof
✔ Your electric bills
✔ Your timeline
✔ Your utility company
✔ Your financing options
No pressure.
See how much you could save with solar in 2026
How Much Does Solar Panel Installation Cost?
Solar installation costs vary significantly from one home to another.
The price depends on factors such as:
- System size
- Electricity usage
- Roof complexity
- Roof size
- Panel type
- Inverter technology
- Battery storage
- Electrical upgrades
- Installation requirements
- Financing structure
- Local permitting
That’s why a generic “solar costs $X” answer isn’t particularly useful.
Every home is different.
The right question isn’t: “How much do solar panels cost?”
It’s: “How much would the right solar system cost for my home?”
That’s exactly why personalized quotes are important.
What Happens After Your Solar Panels Are Installed?
After installation, inspection and utility approval, your system can be activated.
Once operating, your solar panels generate electricity whenever there is sufficient sunlight.
Your home can use that electricity immediately.
Depending on your system and utility arrangement, excess electricity may be sent to the grid and credited according to applicable rules.
You can also monitor your system’s production through your solar monitoring platform if your equipment includes monitoring.
Your solar journey doesn’t end on installation day
It’s important to understand:
Avoid this Common Mistake: Don’t schedule roof replacement after your solar panels are installed. If your roof has only a few years of life remaining, it may be more cost-effective to replace it before installing solar.
Installation is only one part of the solar experience.
You should also know:
- Who handles maintenance?
- Who handles warranty issues?
- What happens if an inverter fails?
- Who do you contact if production drops?
- What happens if you sell your home?
- What happens if your roof needs work?
- What happens during a power outage?
These questions should be answered before you sign your contract
What Can Delay a Solar Installation?
Several administrative, technical, and environmental factors can delay a solar panel installation. While the physical setup often takes only a few days, the entire process can take weeks or months due to external bottlenecks
- HOA approval
- Permit backlogs
- Utility review
- Weather
- Equipment availability
- Roof repairs
Making Your Solar Decision
Going solar isn’t just about installing panels. It’s about choosing the right system, the right financing, and the right team to guide you through the process. When you understand each step before you begin, you’ll feel far more confident making a decision that could benefit your home for decades.
But don’t let excitement or pressure rush your decision. The right solar system isn’t necessarily the cheapest one or the one with the lowest monthly payment. Different companies can offer different equipment, warranties, financing options, and contracts, so comparing your choices matters.
Before you sign, take the time to understand what you’re buying, what you’re paying, and what you can realistically expect to save. Because at the end of the day, going solar should leave you feeling confident not confused or pressured.
Ready to see what solar could look like for your home? Start by comparing your options and finding a solar solution designed around your energy needs not someone else’s sales pitch.
See how much you could save with solar in 2026